In this article we will reveal how to make a photoengraving with Laser markers, explaining some tricks to get great results.
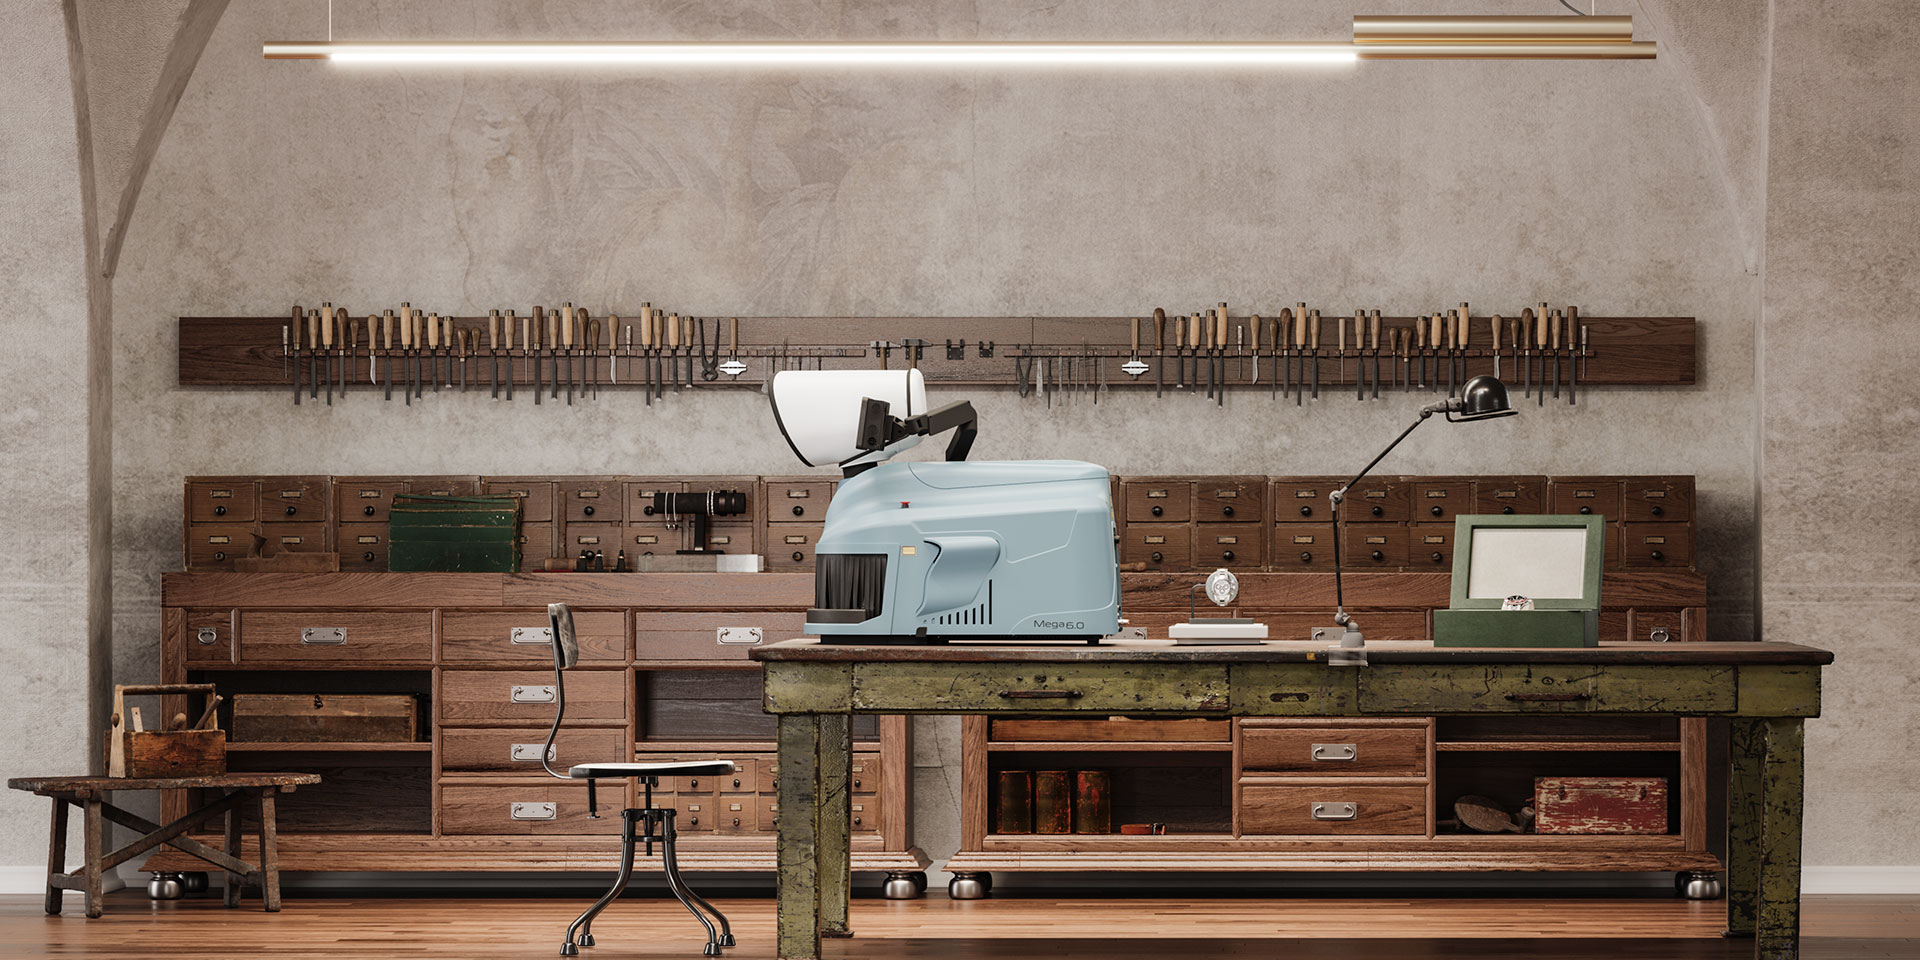
Before starting, we remind you that with our Laser markers, in addition to photoengraving, it is possible to engrave and cut different types of shapes, designs, names, Datamatrix, logos etc. on any precious metal, in addition to steel, aluminum and many others (by clicking here you can see all our engraver models).
Let's get back to us.
First of all what does photoengraving mean?
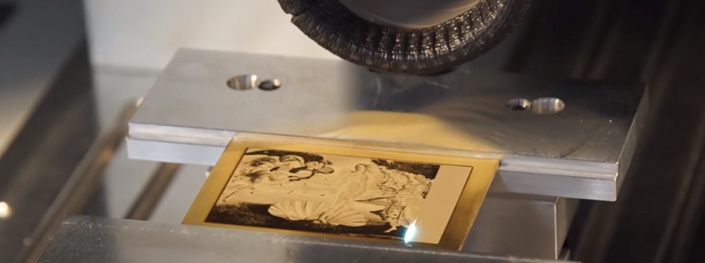
The photoengraving is a processing technique where the image is engraved, whether it was imported or generated by a computer, onto a piece of metal through the removal of material and the blackening of specific areas of the surface of the material itself, reproducing the image desired.
The actions to be taken before proceeding are simple and intuitive.
Let's move on to the action.
Let's see the basic steps:
- Before engraving it is essential to make sure that the photo is in high resolution (300 dpi is recommended). Once you have chosen the photo, which can be in the most common formats (JPEG, PNG etc.), simply import it using the software supplied installed on your computer;
- Depending on the object and the material on which you want to engrave the parameters will have to be arranged, such as the size of the photo that you must adapt to the space in the object, the speed and power of the Laser;
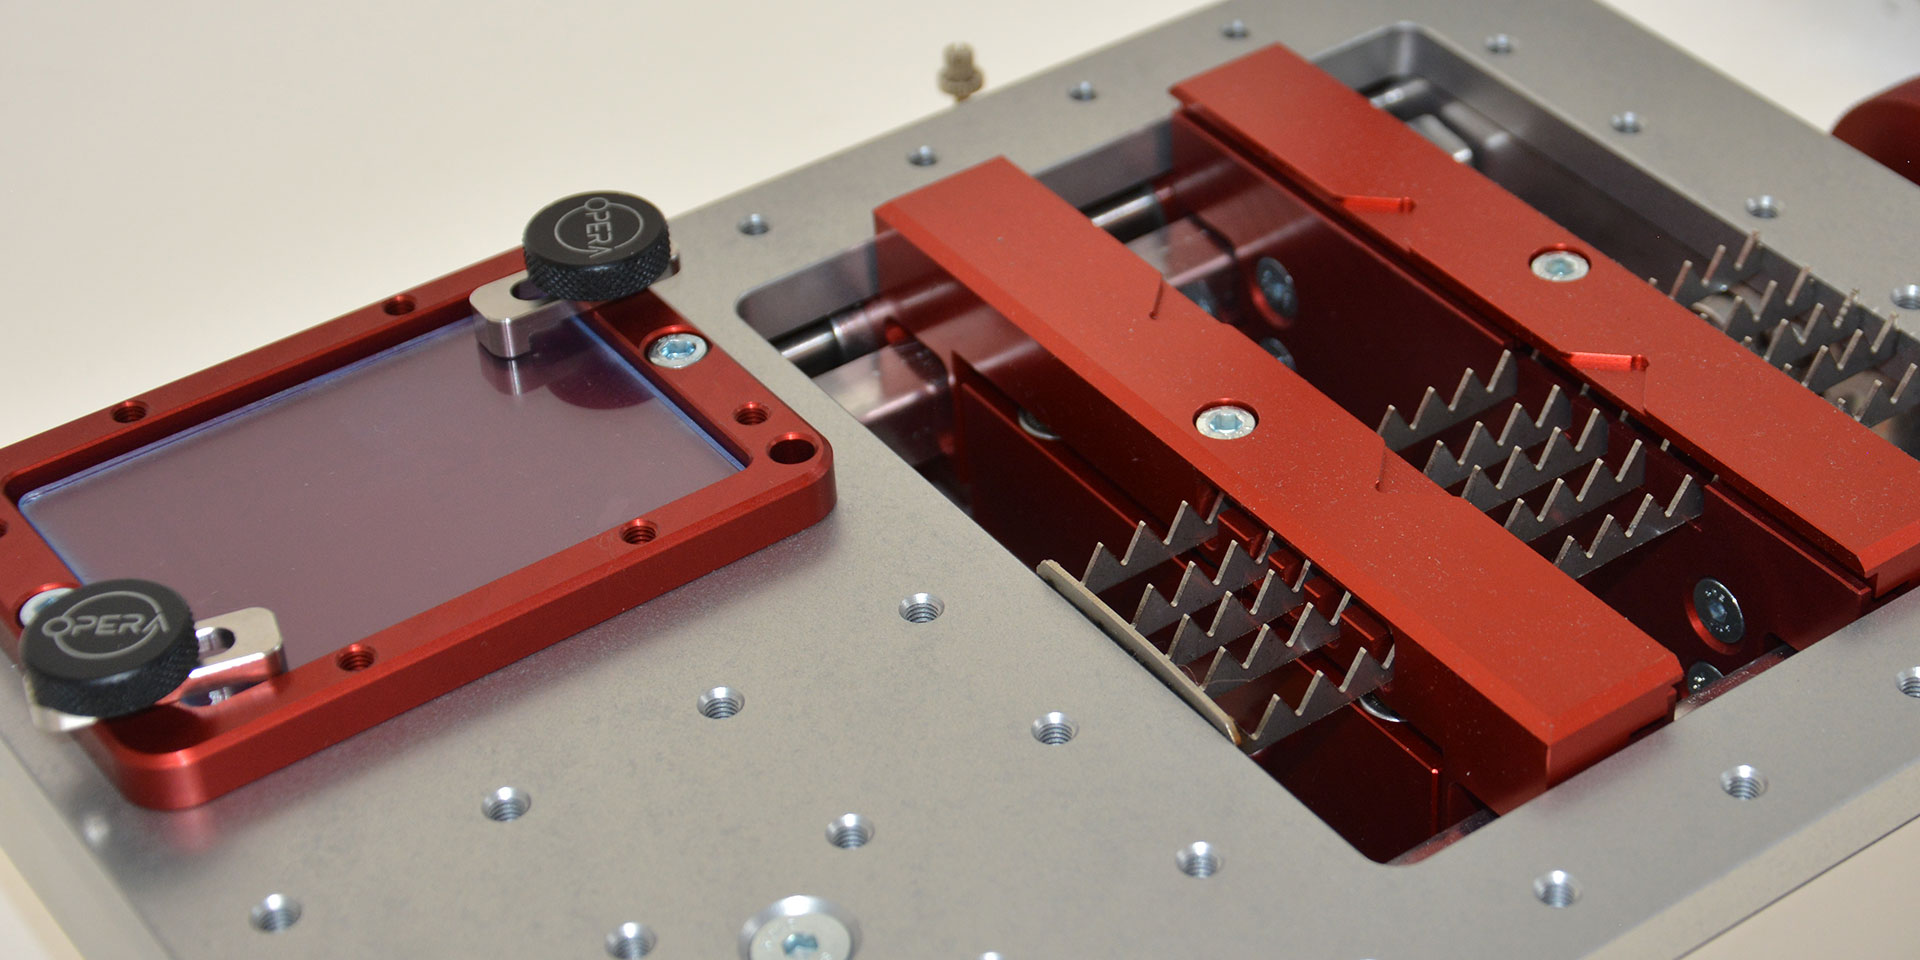
- Place the piece in the XY clamp supplied with our Fiberlux and then focus the scan head;
- Before proceeding with the engraving of the actual photo, prepare the surface engraving the total size of the photo itself, to have a better final effect. Once done, you will be able to switch to the photograph engraving.
The final result depends on the quality of the photo and in particular on the contrast, the definition and obviously on the parameters entered.
Here is a demonstration video, created specifically to show you how photoengraving works with an Elettrolaser FiberLux marker:
...Would you like to know more?
To learn more about the photoengraving and other applications of our markers, do not hesitate to contact us and if you want to stay updated on our news, follow us on YouTube channel!